
Understanding Fly Tying Basics
What is Fly Tying?
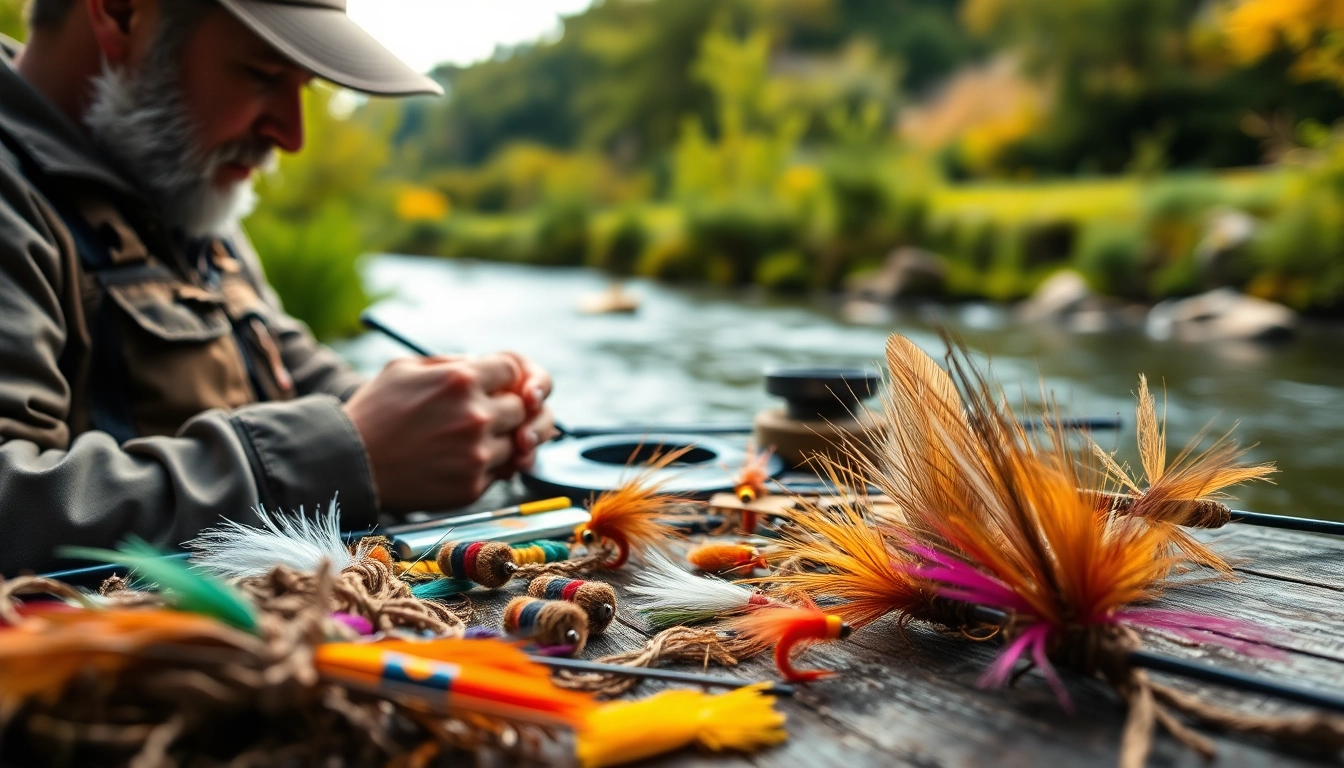
Fly tying is the art and craft of creating artificial flies for fishing, a method that has been embraced by anglers for centuries. It involves attaching materials like feathers, fur, and synthetic fibers to hooks, mimicking the appearance and movement of various aquatic organisms that fish are prone to biting. By understanding the nuances of fly tying, you can design flies that are tailored to your local fishing conditions and the species you are targeting.
Essential Materials for Fly Tying
To embark on your fly tying journey, you’ll need some essential materials:
- Hooks: Start with various sizes and styles, as the choice will affect the fly’s presentation.
- Threads: The backbone of your fly construction; different thicknesses and colors are available for various patterns.
- Body Materials: This includes dubbing (fur-like materials), chenille, tinsel, and even plastics and foams.
- Wing Materials: Choose from feathers, synthetic fibers, or even plastic sheets to create realistic wings.
- Tails: Often made from feathers or fur, tails can add movement and effectiveness to your fly.
- Tools: A good vise, bobbin holder, scissors, and a whip finisher are critical for any fly tyer.
Setting Up Your Workspace
Your fly tying workspace should be organized and free of distractions. Here are some tips to create an ideal environment:
- Lighting: Ensure good lighting, as fly tying requires precision.
- Sturdy Table: Use a solid work surface to avoid any vibrations that can disrupt your work.
- Organized Materials: Keep materials in labeled containers for easy access.
- Comfortable Chair: Select a chair that provides good support, particularly for longer tying sessions.
Techniques for Effective Fly Tying
Basic Knots and Their Uses
Mastering a few basic knots is essential for effective fly tying. The most commonly used knots include:
- Clinch Knot: Ideal for attaching the fly to your tippet.
- Loop Knot: Allows the fly to move freely in the water, adding realism.
- Braid Loop Knot: Perfect for attaching heavier lines to finer tippets.
Helpful Tips for Beginners
If you’re just starting, here are some helpful tips to ensure success:
- Start with simple patterns, gradually increasing complexity as your skills improve.
- Watch video tutorials to gain a better understanding of techniques and styles.
- Practice regularly to build muscle memory and technique accuracy.
- Don’t hesitate to seek feedback from experienced tiers.
Common Mistakes to Avoid
Even experienced tiers make mistakes. Here are common pitfalls:
- Using excessive thread tension, which can lead to breaking.
- Neglecting to secure materials properly, risking failure during fishing.
- Failing to check proportions, as balanced flies tend to perform better.
Advanced Fly Tying Techniques
Incorporating Different Materials
Diversifying your materials can open up a world of creativity. Consider the following:
- Natural Materials: Utilize feathers, fur, and hair for realistic design.
- Synthetic Materials: Explore the versatility of materials like silicone, which can add unique textures.
- Mixed Media: Combining multiple materials can enhance the fly’s appearance and effectiveness.
Designing Your Own Patterns
Designing your own fly patterns is one of the most rewarding aspects of fly tying. Here’s how to get started:
- Research local hatches to understand what your target fish are eating.
- Gather inspiration from nature, art, and existing patterns.
- Experiment with different forms, colors, and sizes until you find what works best.
Experimenting with Colors and Textures
Color and texture can dramatically impact a fly’s attractiveness. Tips for experimentation include:
- Conduct side-by-side tests with different color variations to see which attracts more strikes.
- Incorporate textured materials to create lifelike movement in the water.
- Utilize UV-reactive materials to make your flies stand out in varied light conditions.
Maintenance and Care for Fly Tying Tools
Cleaning Your Tools
Proper cleaning of your tools extends their life and ensures high-quality results:
- Scissors: Remove any adhesive or fibers that may have stuck to the blades.
- Vise: Periodically clean and tighten to prevent slippage during tying.
- Bobbin Holder: Regularly check for wear on the tension arm and thread feeding mechanism.
Storing Materials Properly
Effective storage of materials can save you time and frustration:
- Use vertical containers for feathers and long materials to prevent bending.
- Store dubbing and synthetic fibers in airtight bags to avoid fiber loss.
- Keep hooks in their original packaging or a dedicated box to prevent rusting.
Extending Tool Lifespan
To prolong the life of your fly tying tools, consider these practices:
- Avoid excessive force when using your tools; gentle handling makes a significant difference.
- Regularly lubricate moving parts with a light oil to prevent corrosion.
- Replace worn-out materials promptly to maintain efficiency.
FAQs About Fly Tying
What tools are essential for beginners in fly tying?
A basic fly tying kit should include a vise, threads, scissors, and a whip finisher for optimal results.
How long does it take to learn fly tying?
Most beginners can create simple flies in a few hours, but mastering advanced techniques requires ongoing practice.
Can I design my own fly patterns?
Absolutely! Fly tying encourages creativity, and designing your own patterns can be both fun and rewarding.
What materials are best for fly tying?
Common materials include feathers, fur, synthetic fibers, and threads, varying by the fly pattern you choose to create.
How do I store my fly tying materials?
Store materials in clear, labeled containers to keep them organized and easily accessible for all your tying needs.